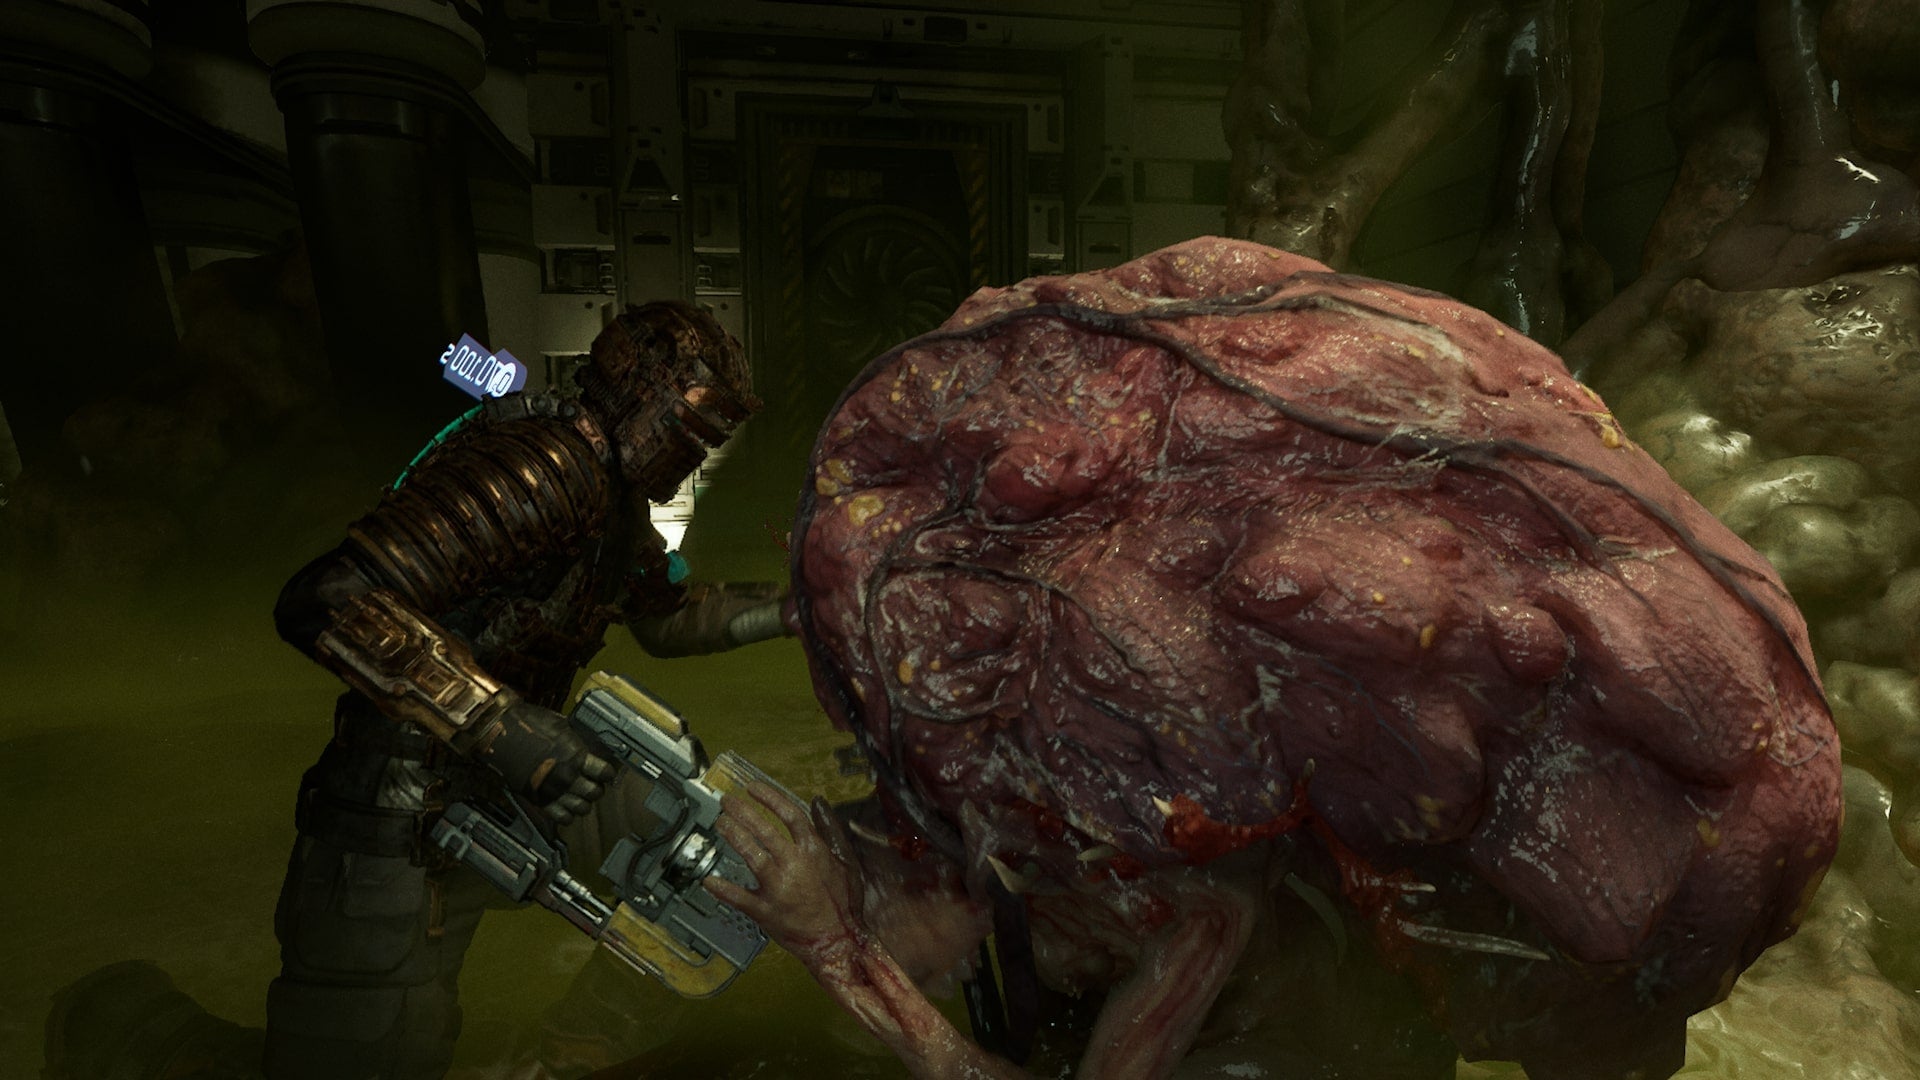
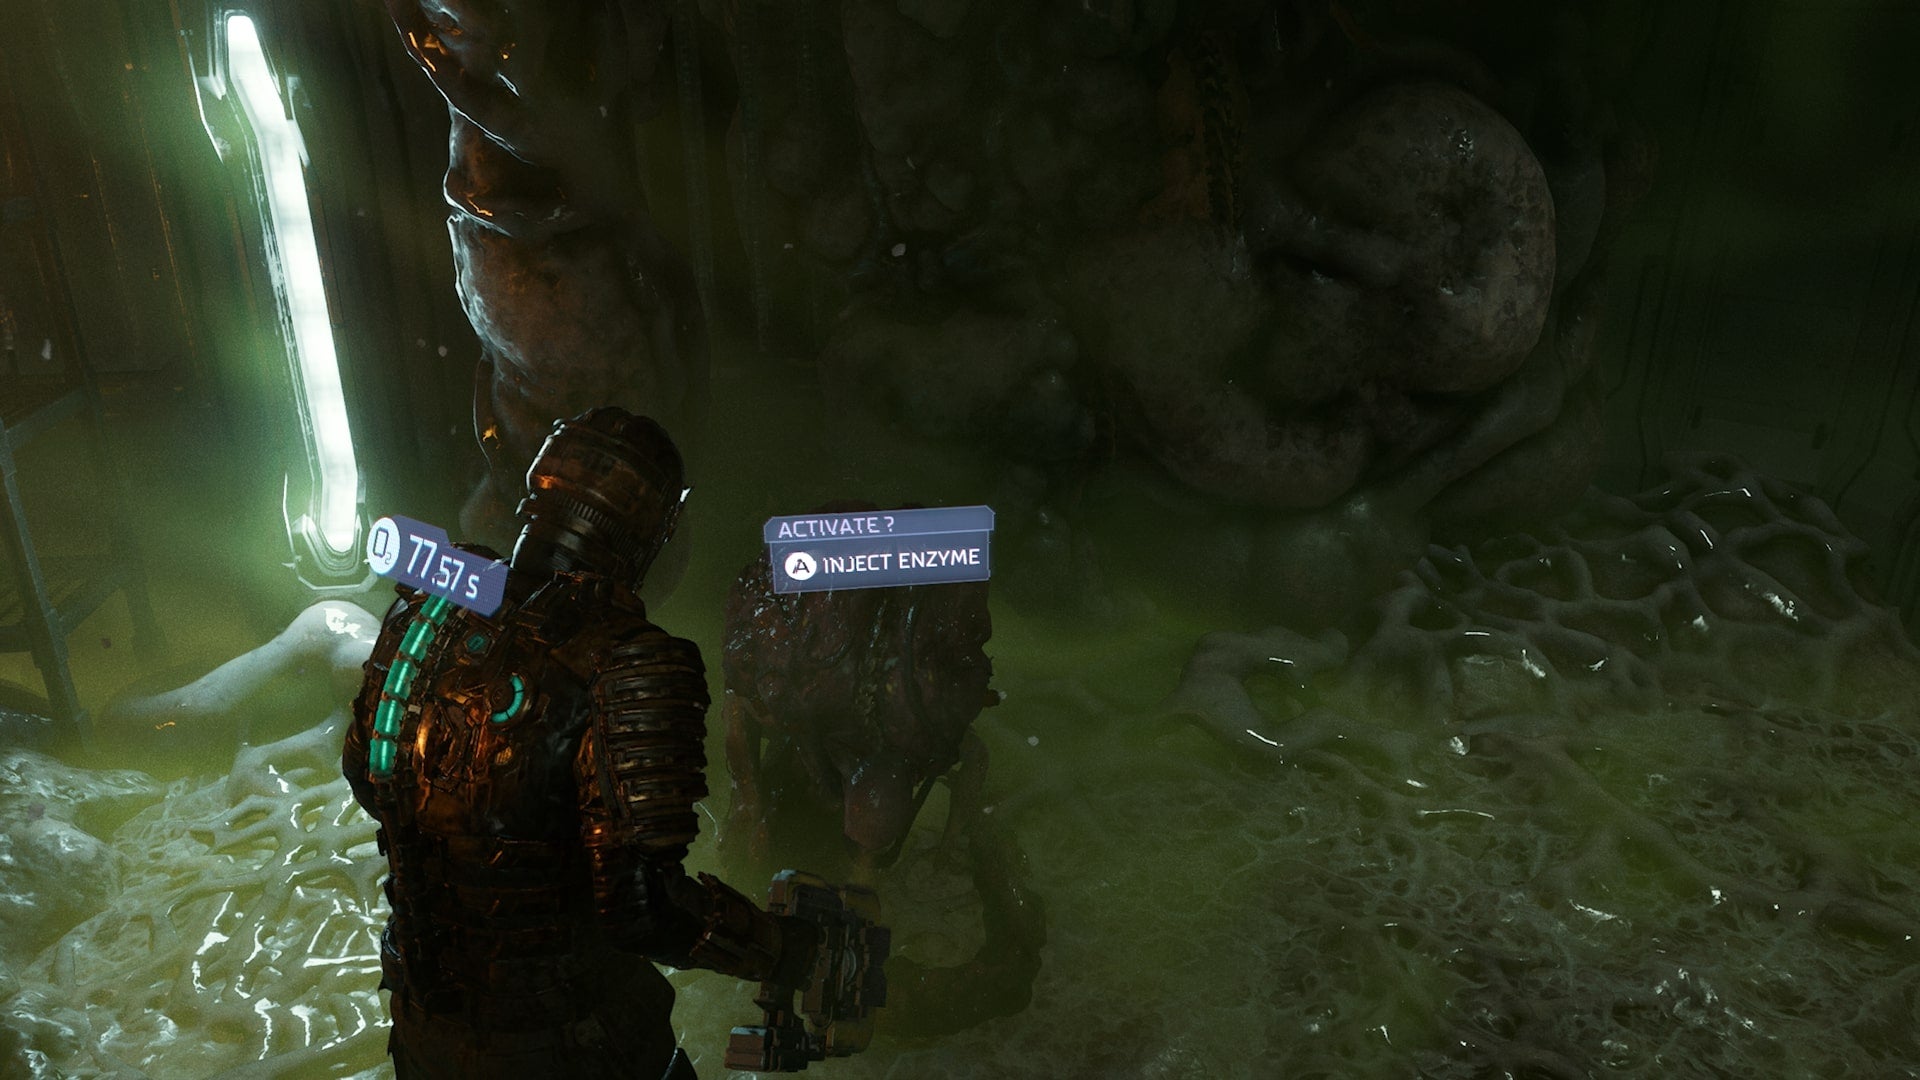
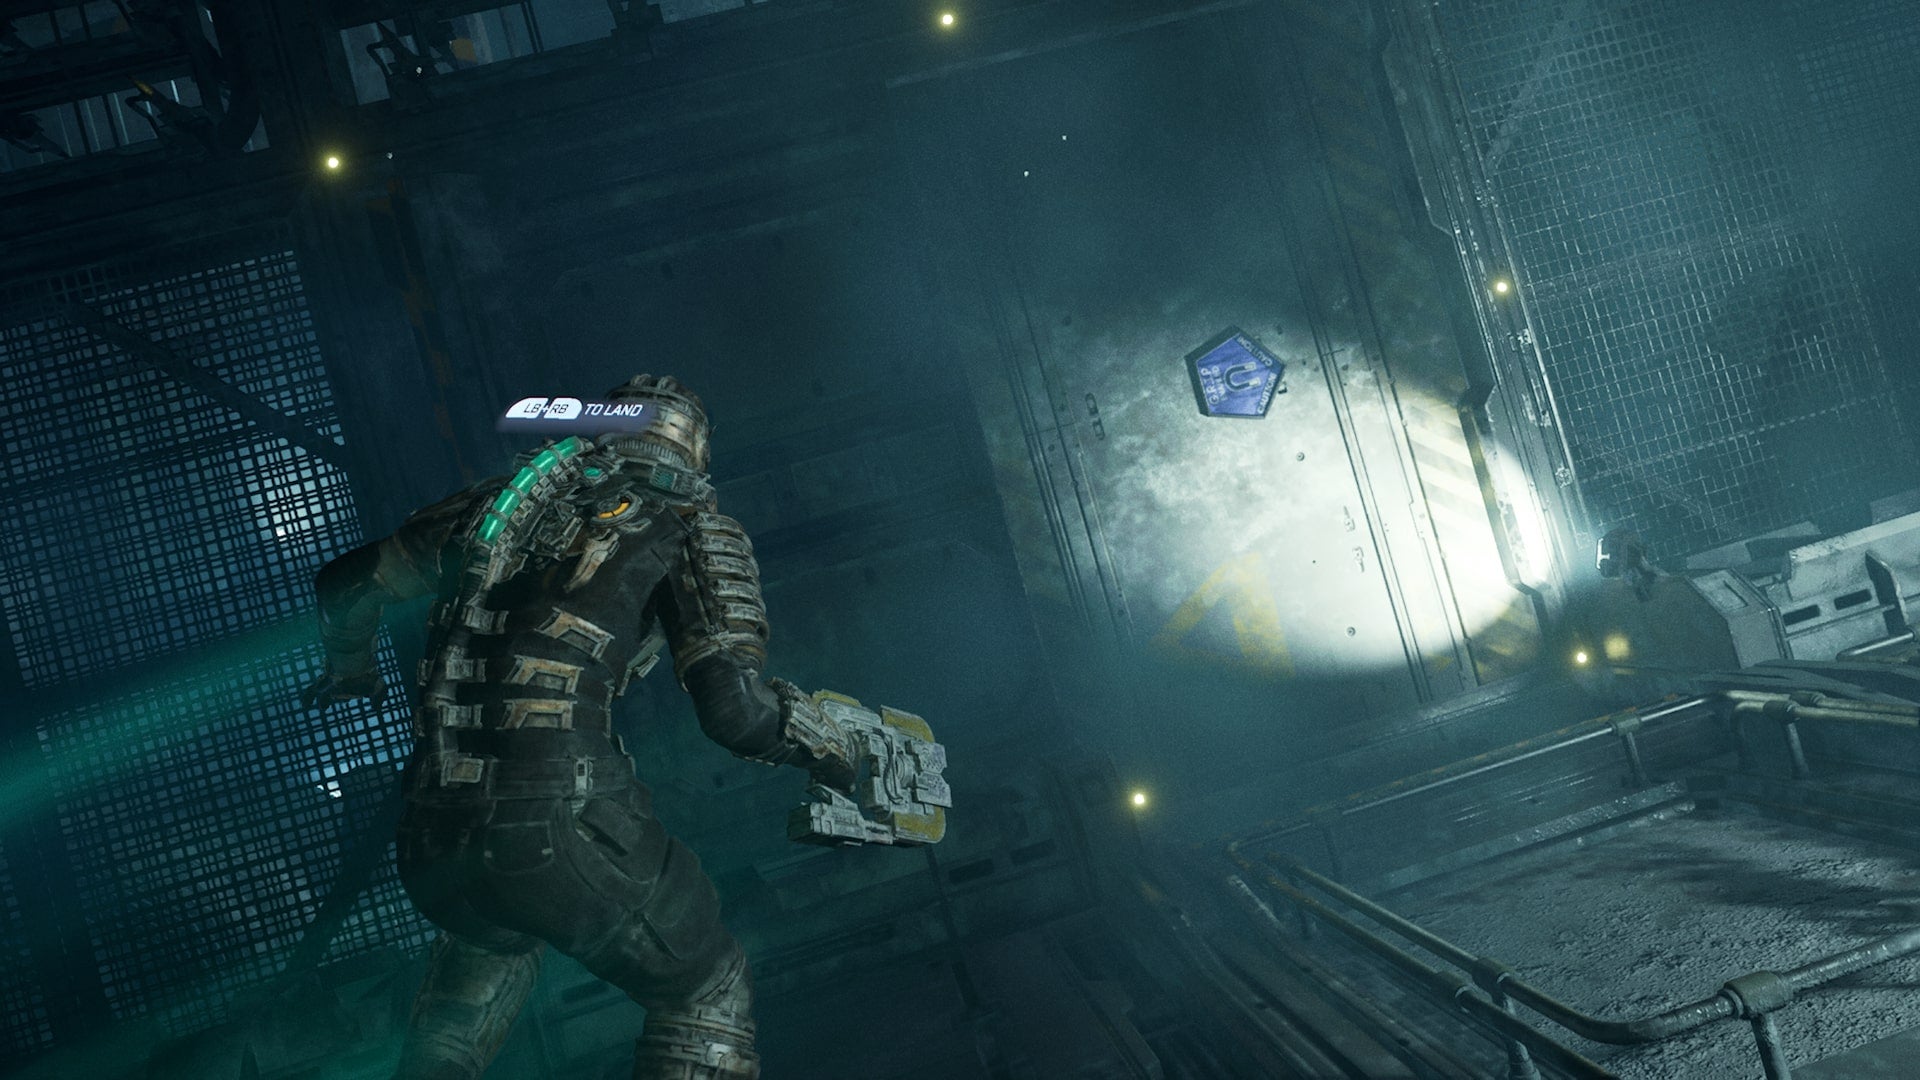
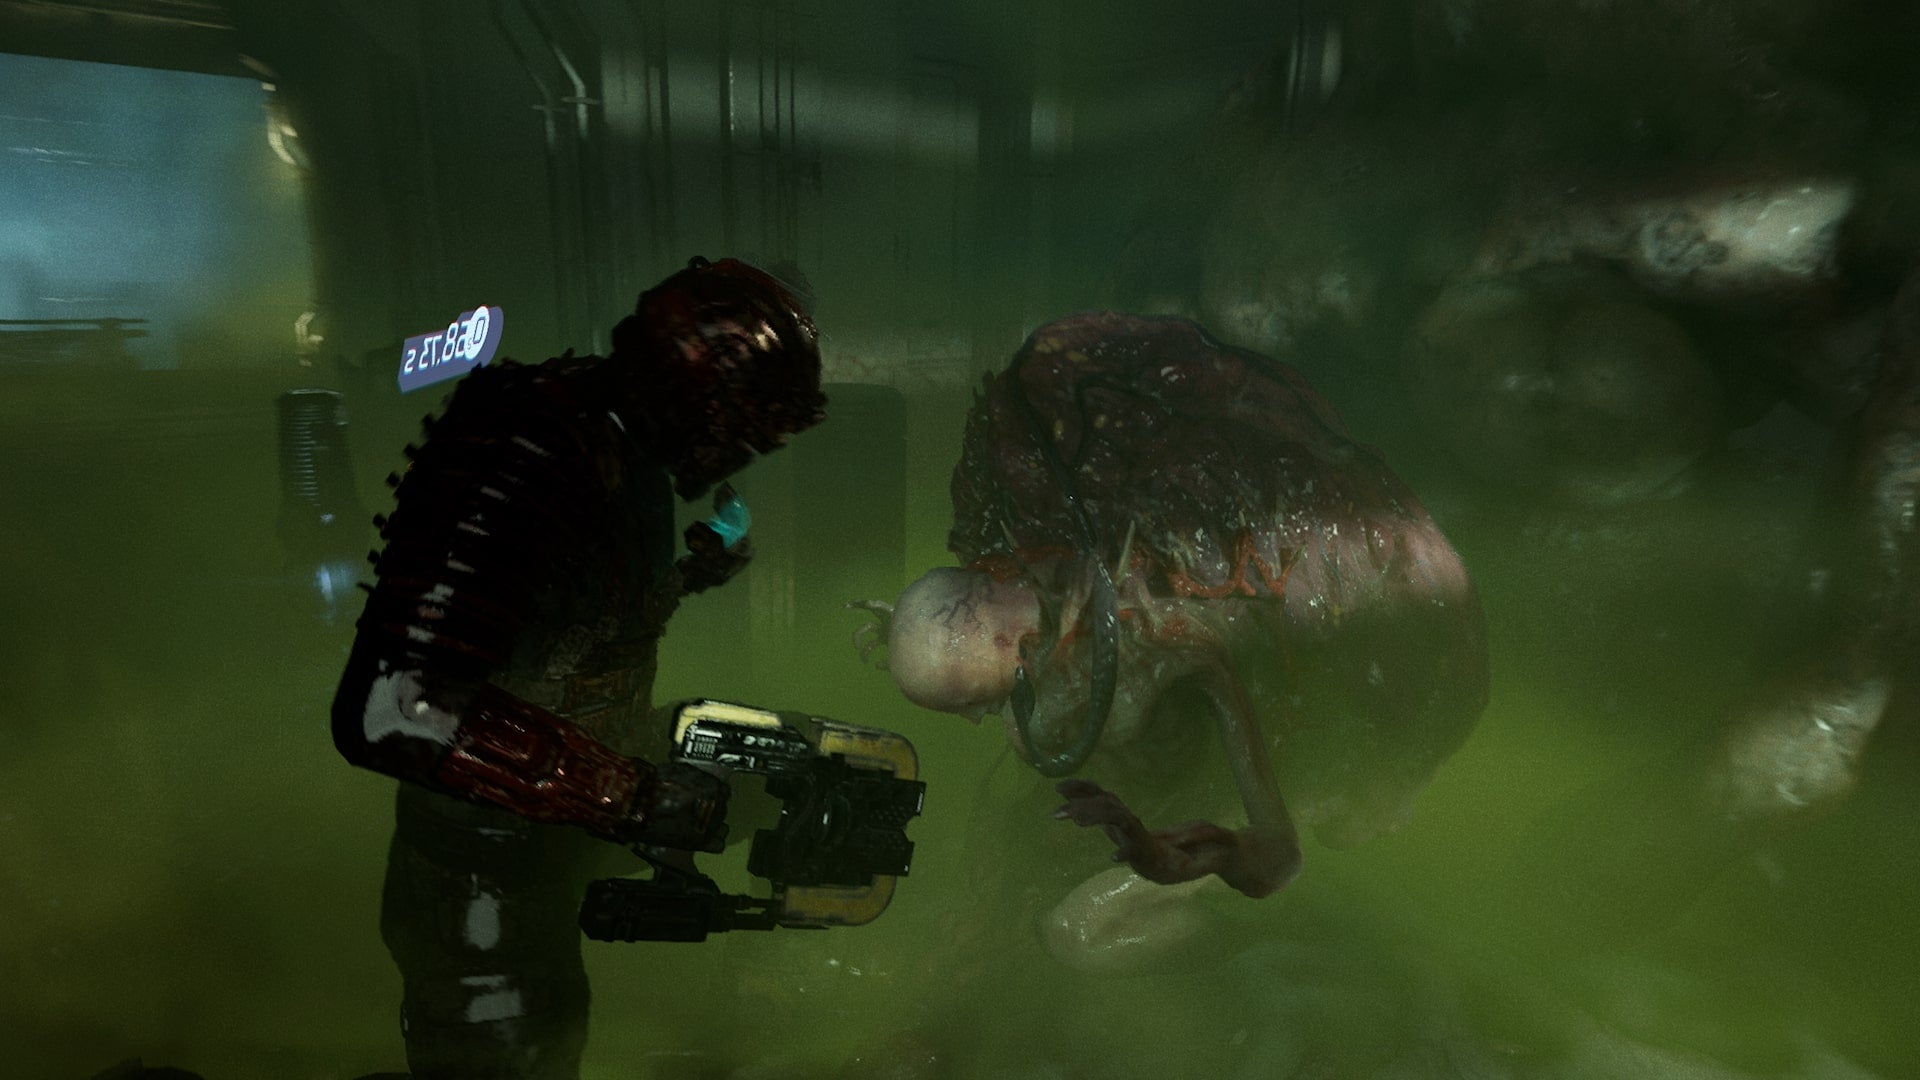
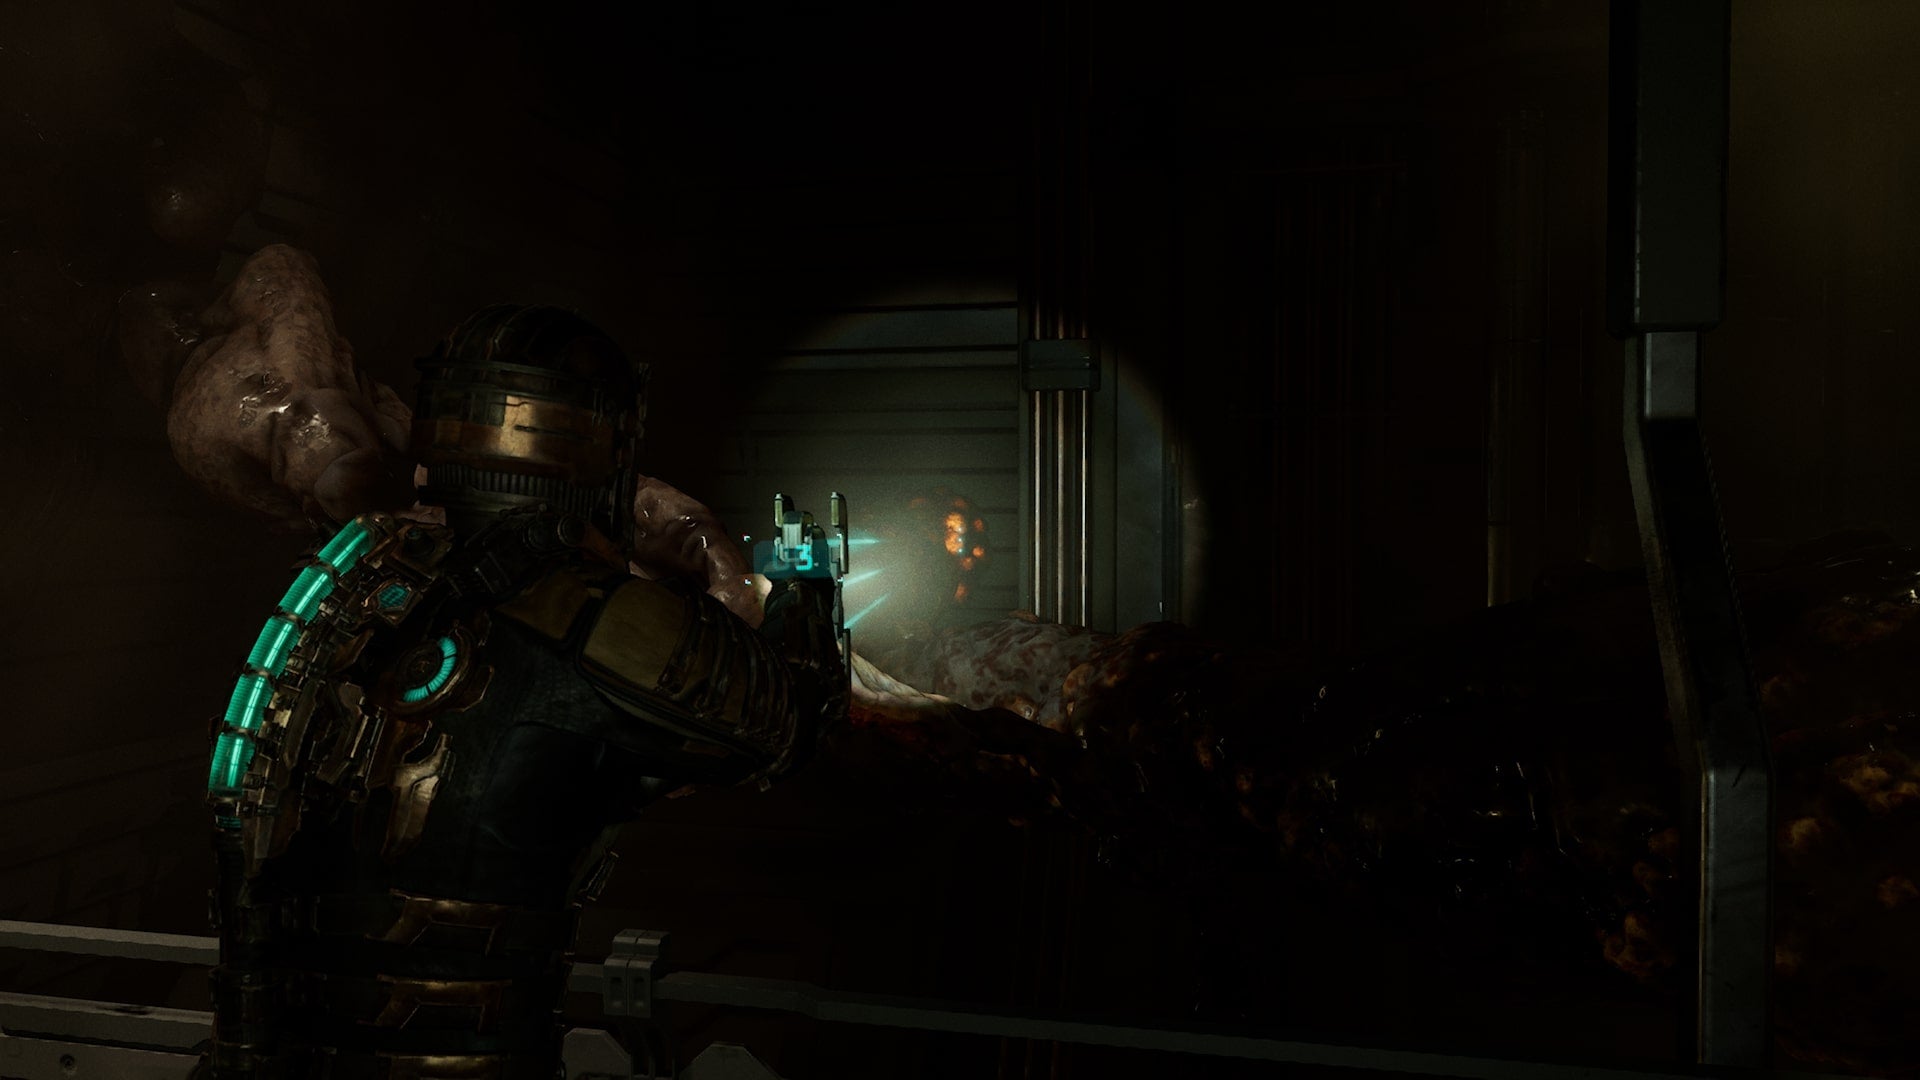
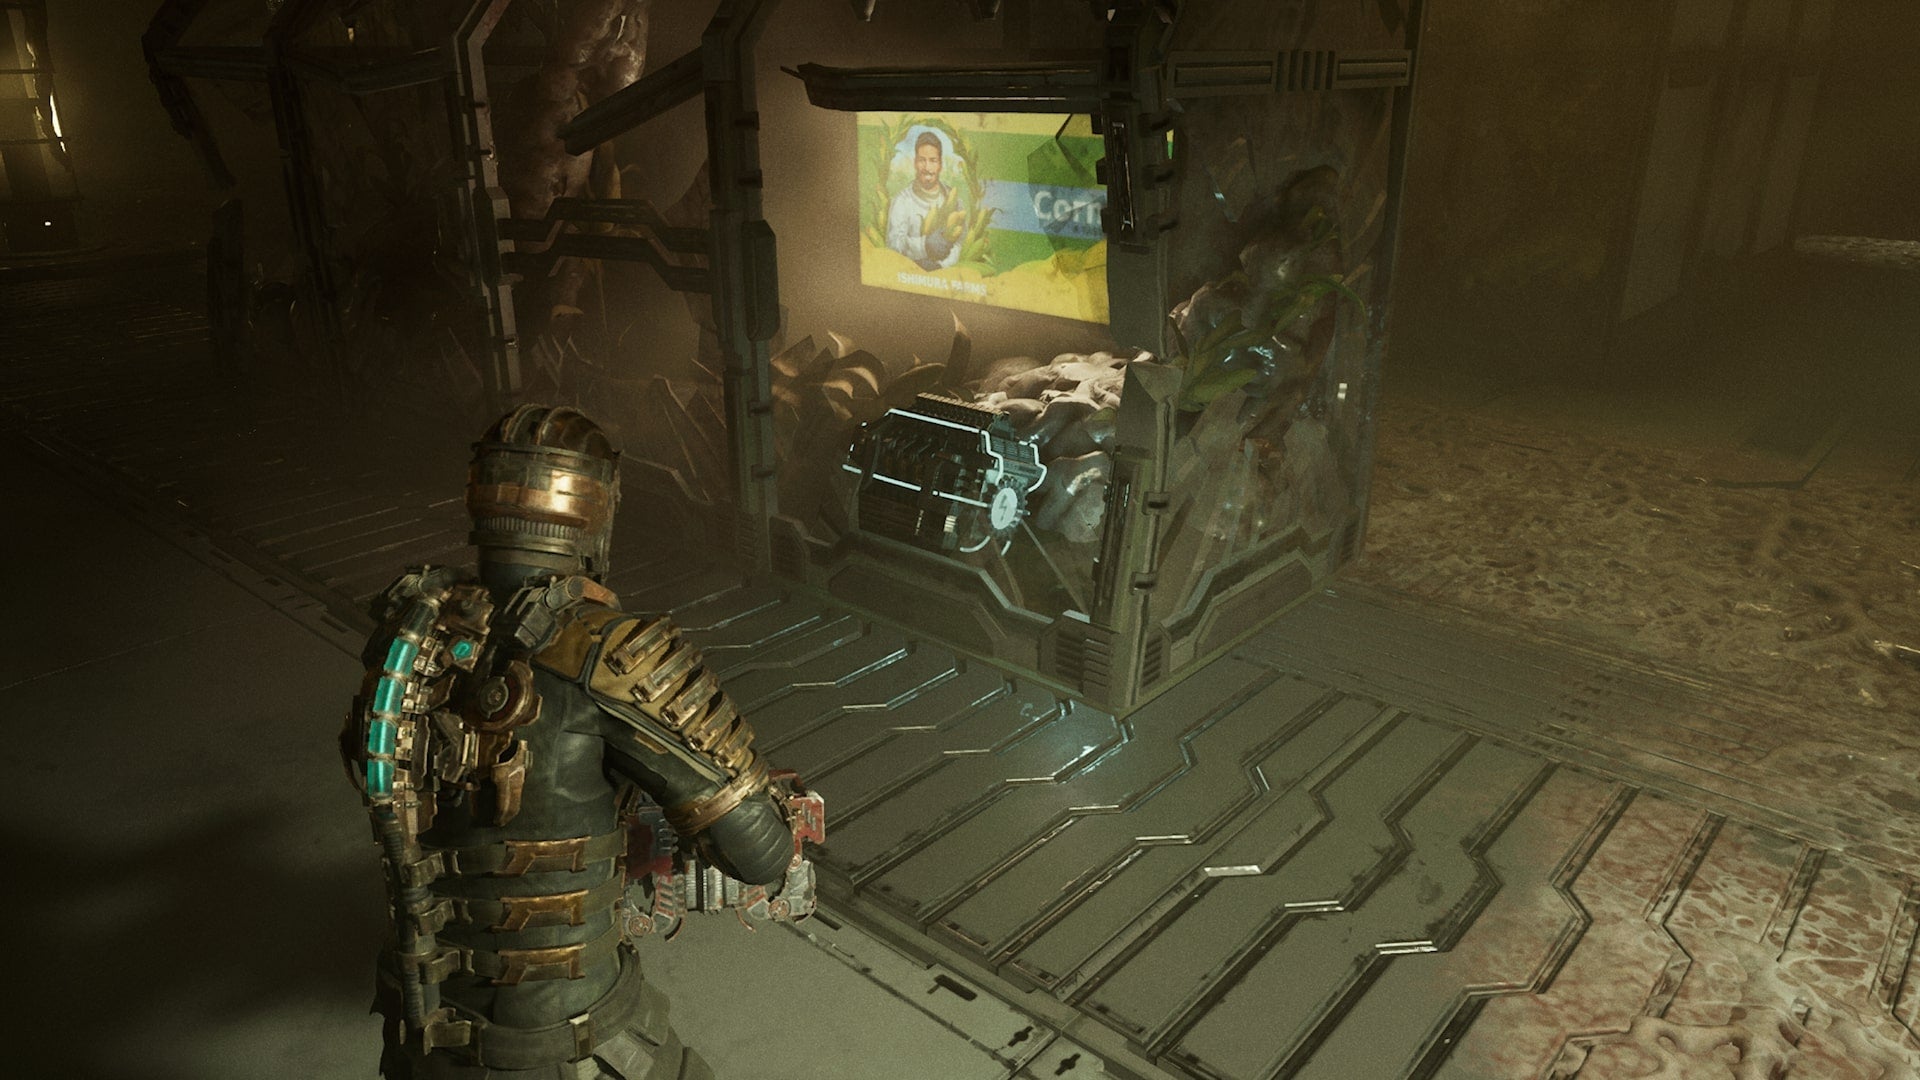
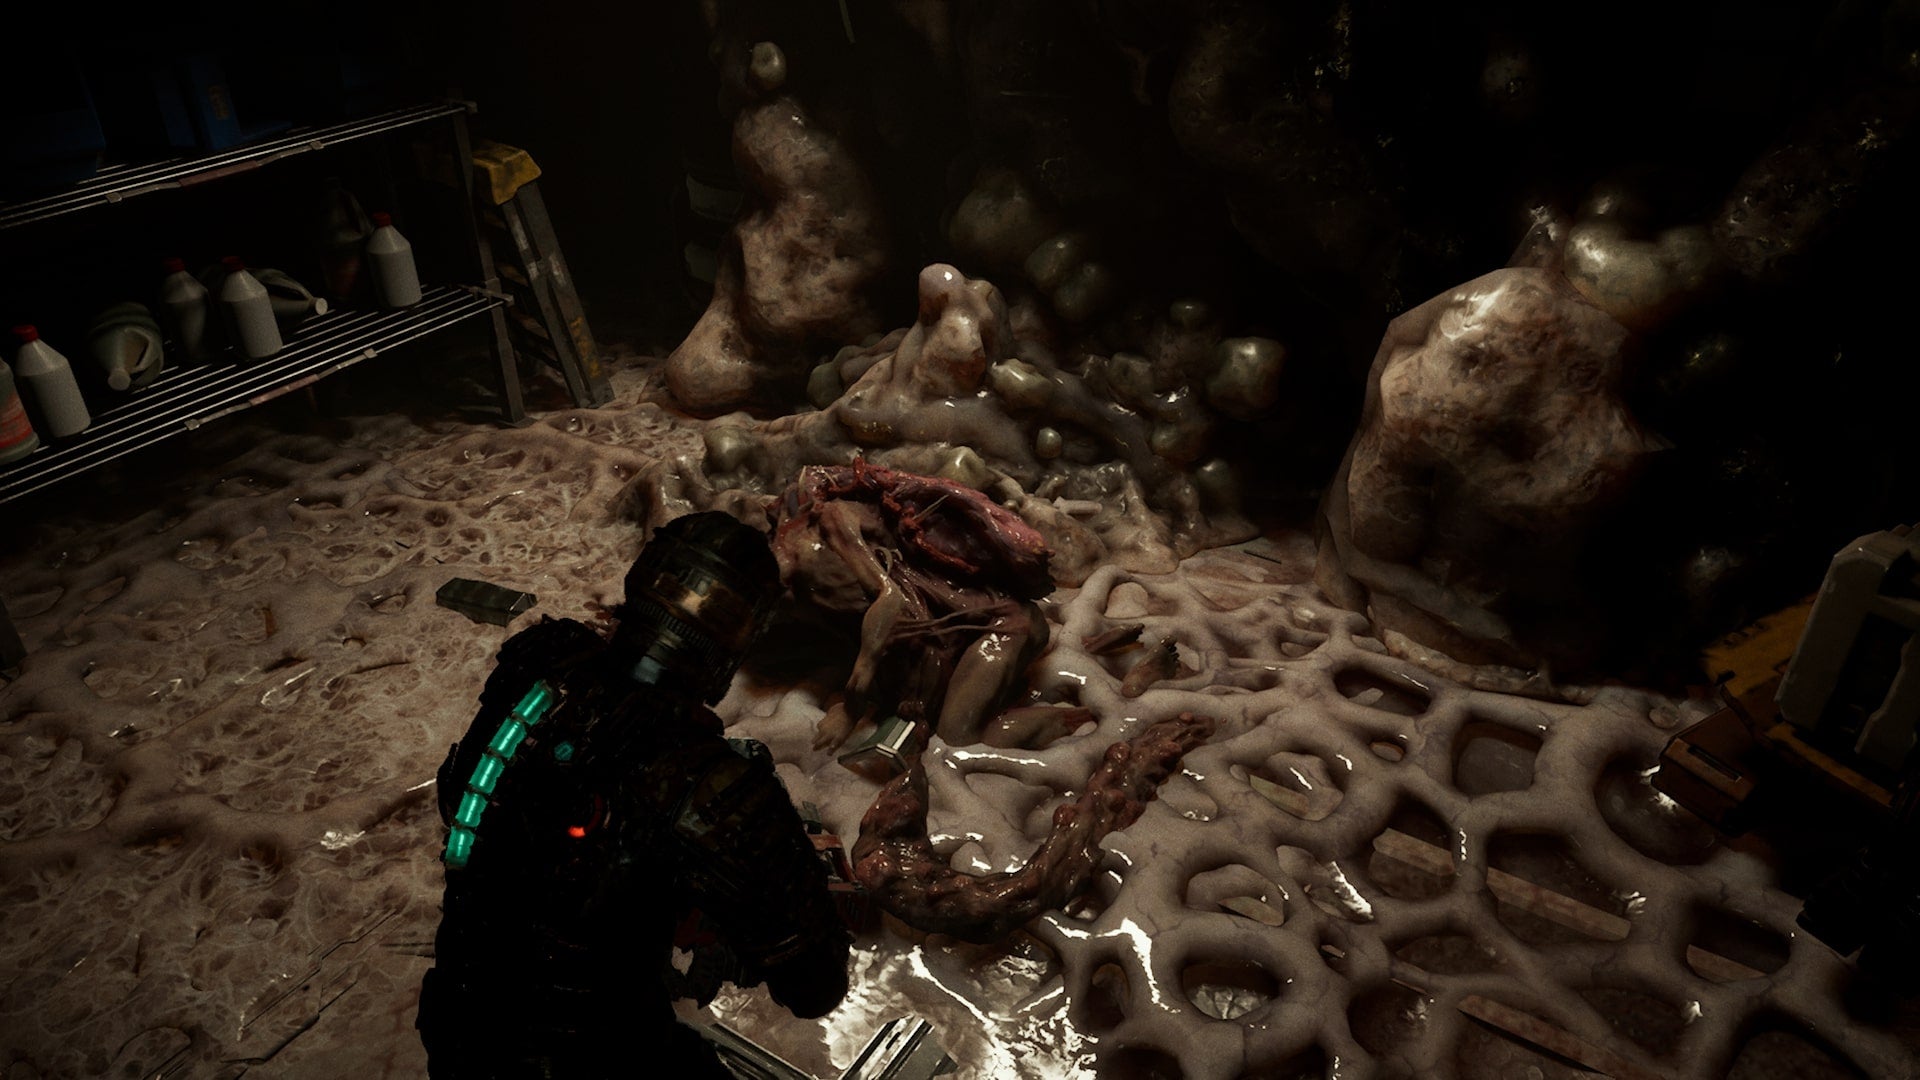
In this chapter, Isaac gets to venture into the food-growing area of the ship, which, honestly, would make a nice stroll had it not been infiltrated by grotesque creatures. Anyway, here’s our walkthrough of Dead Space Chapter 6, which also explains how to beat the Leviathan.
Dead Space Chapter 6: Environmental Habitat
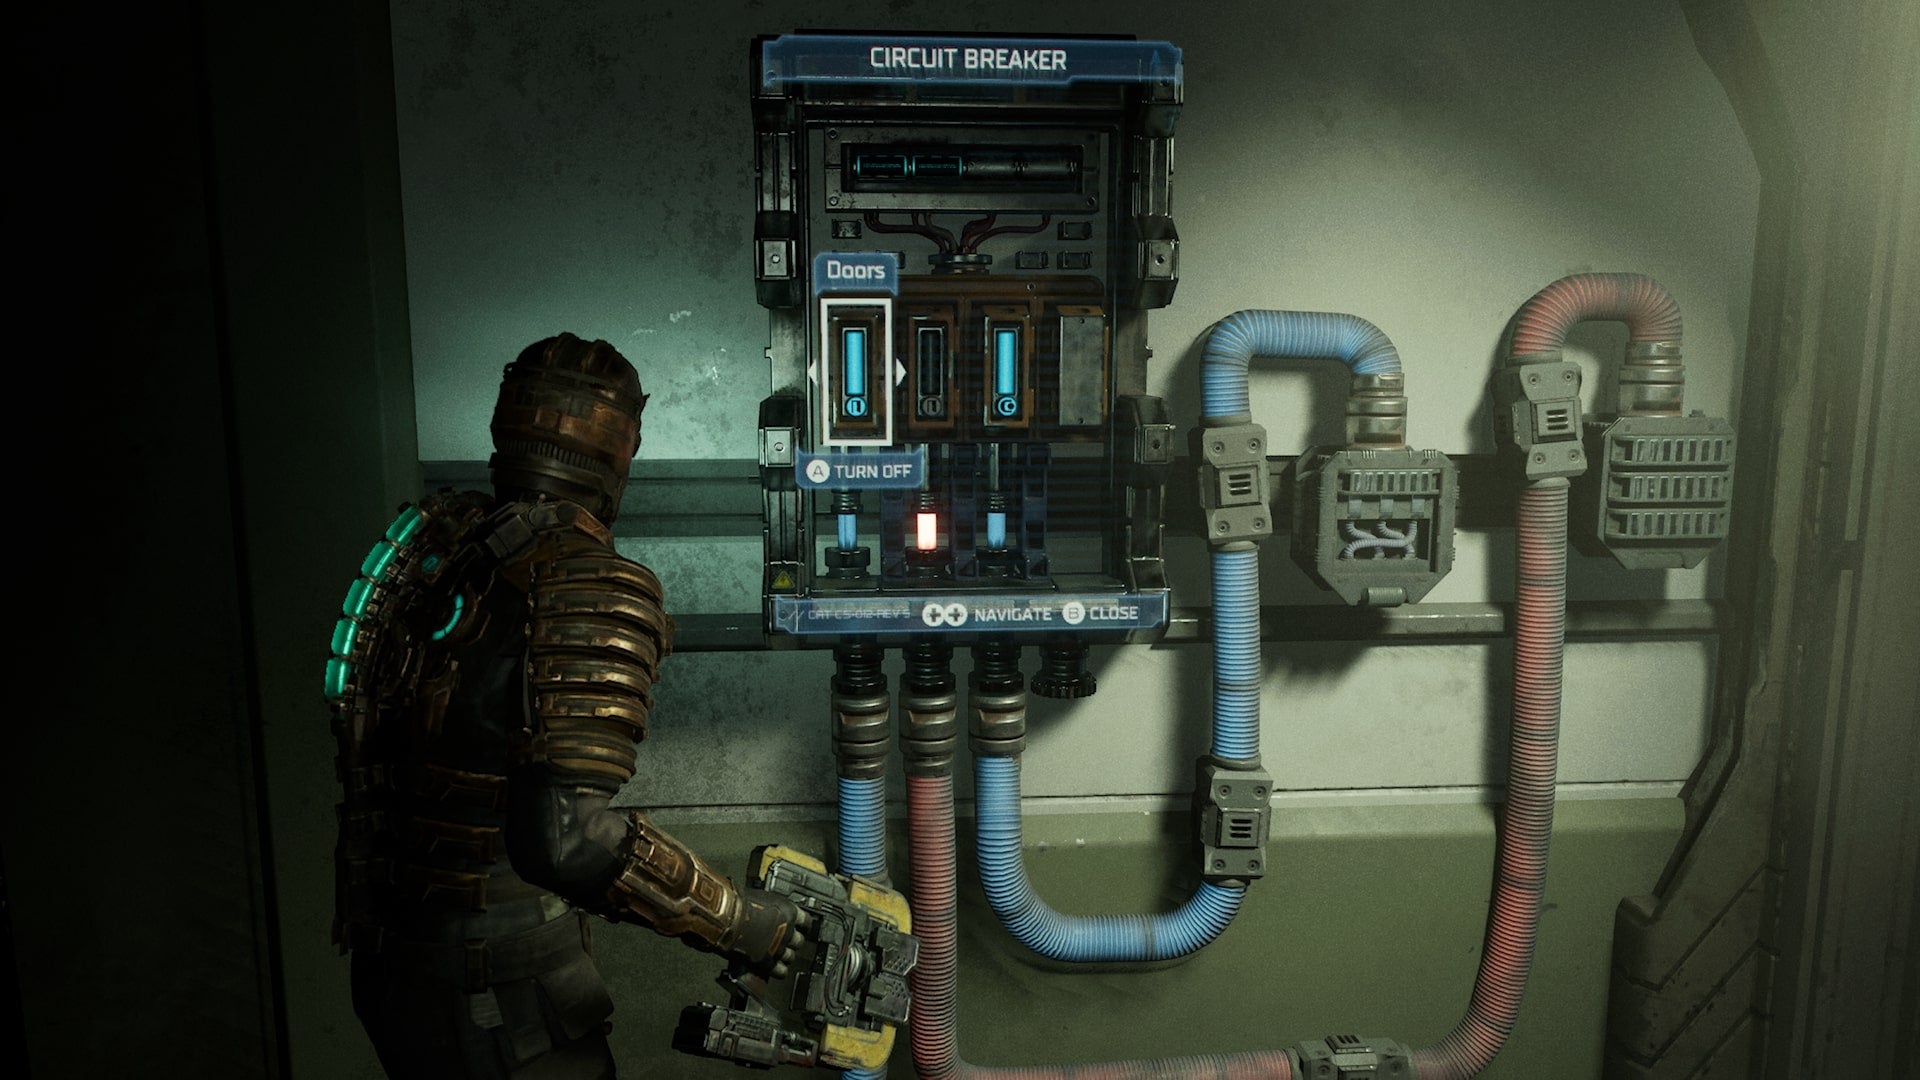
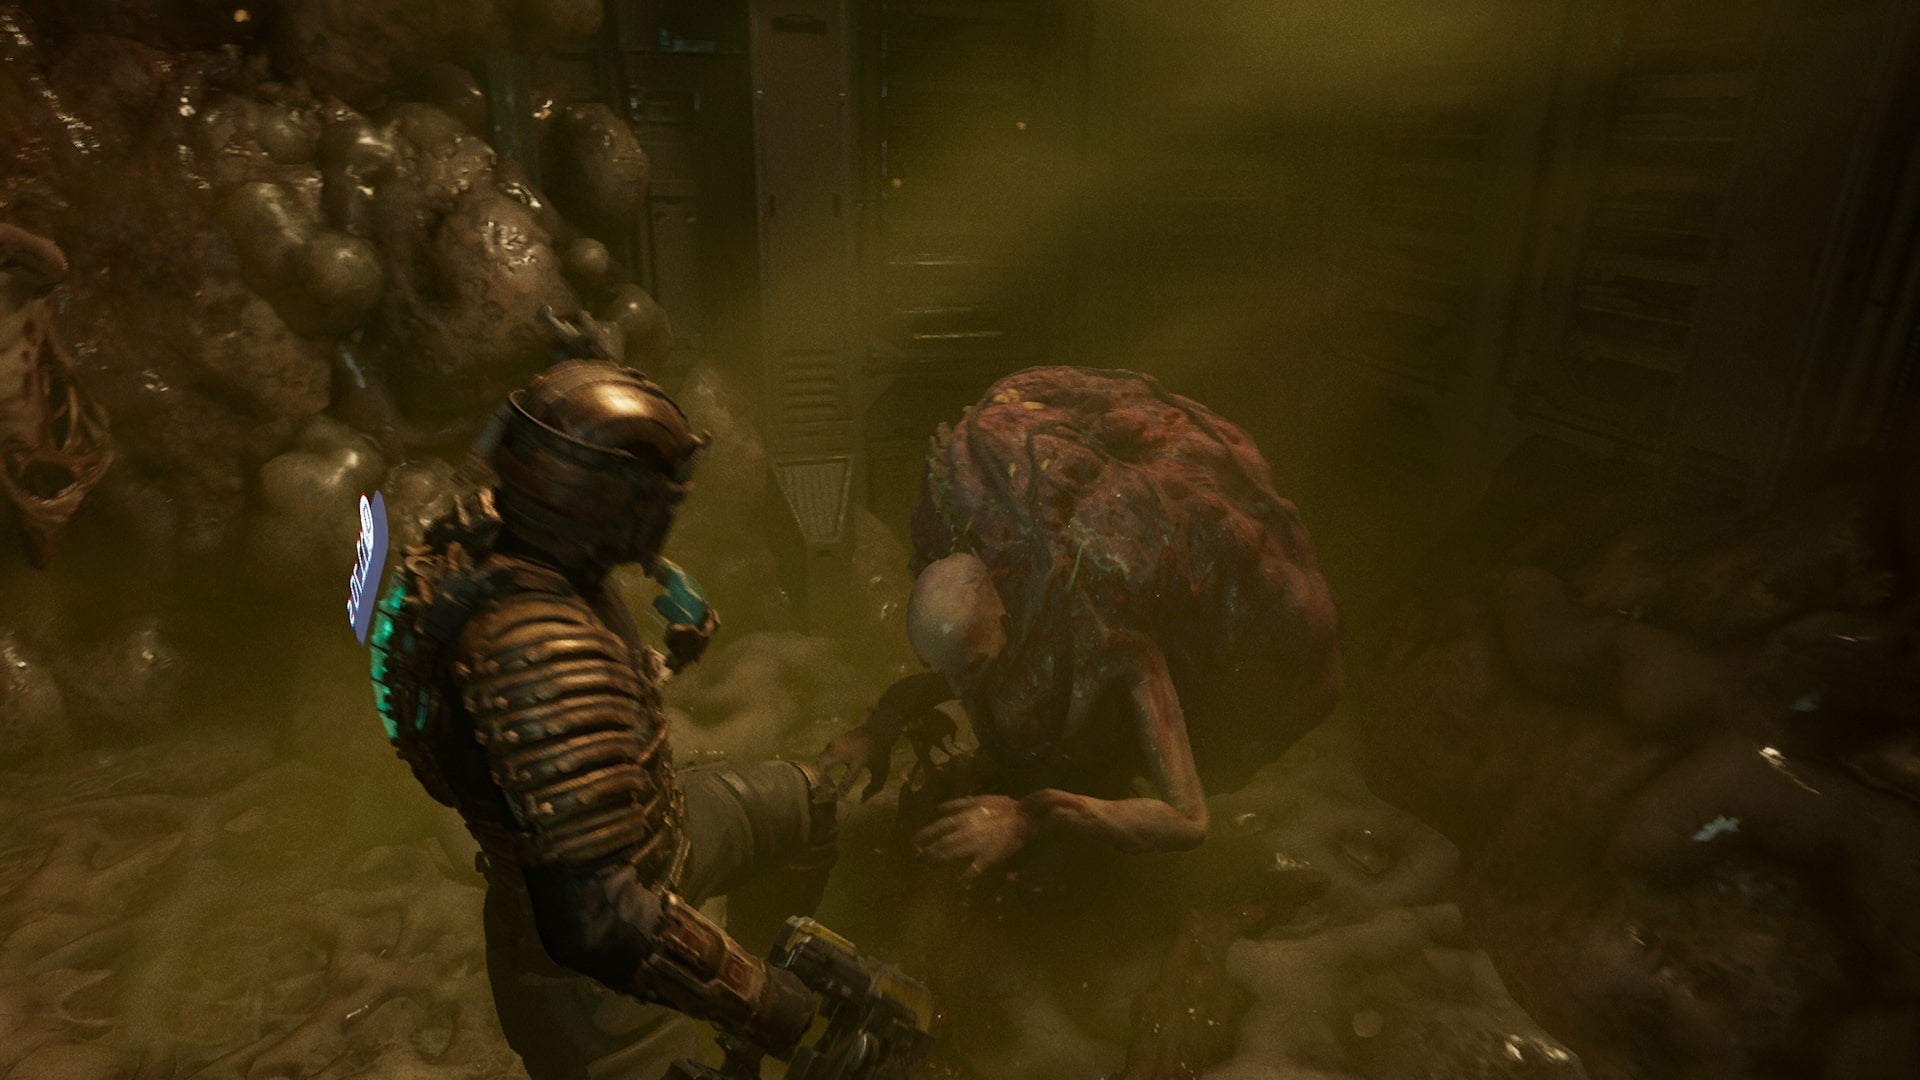
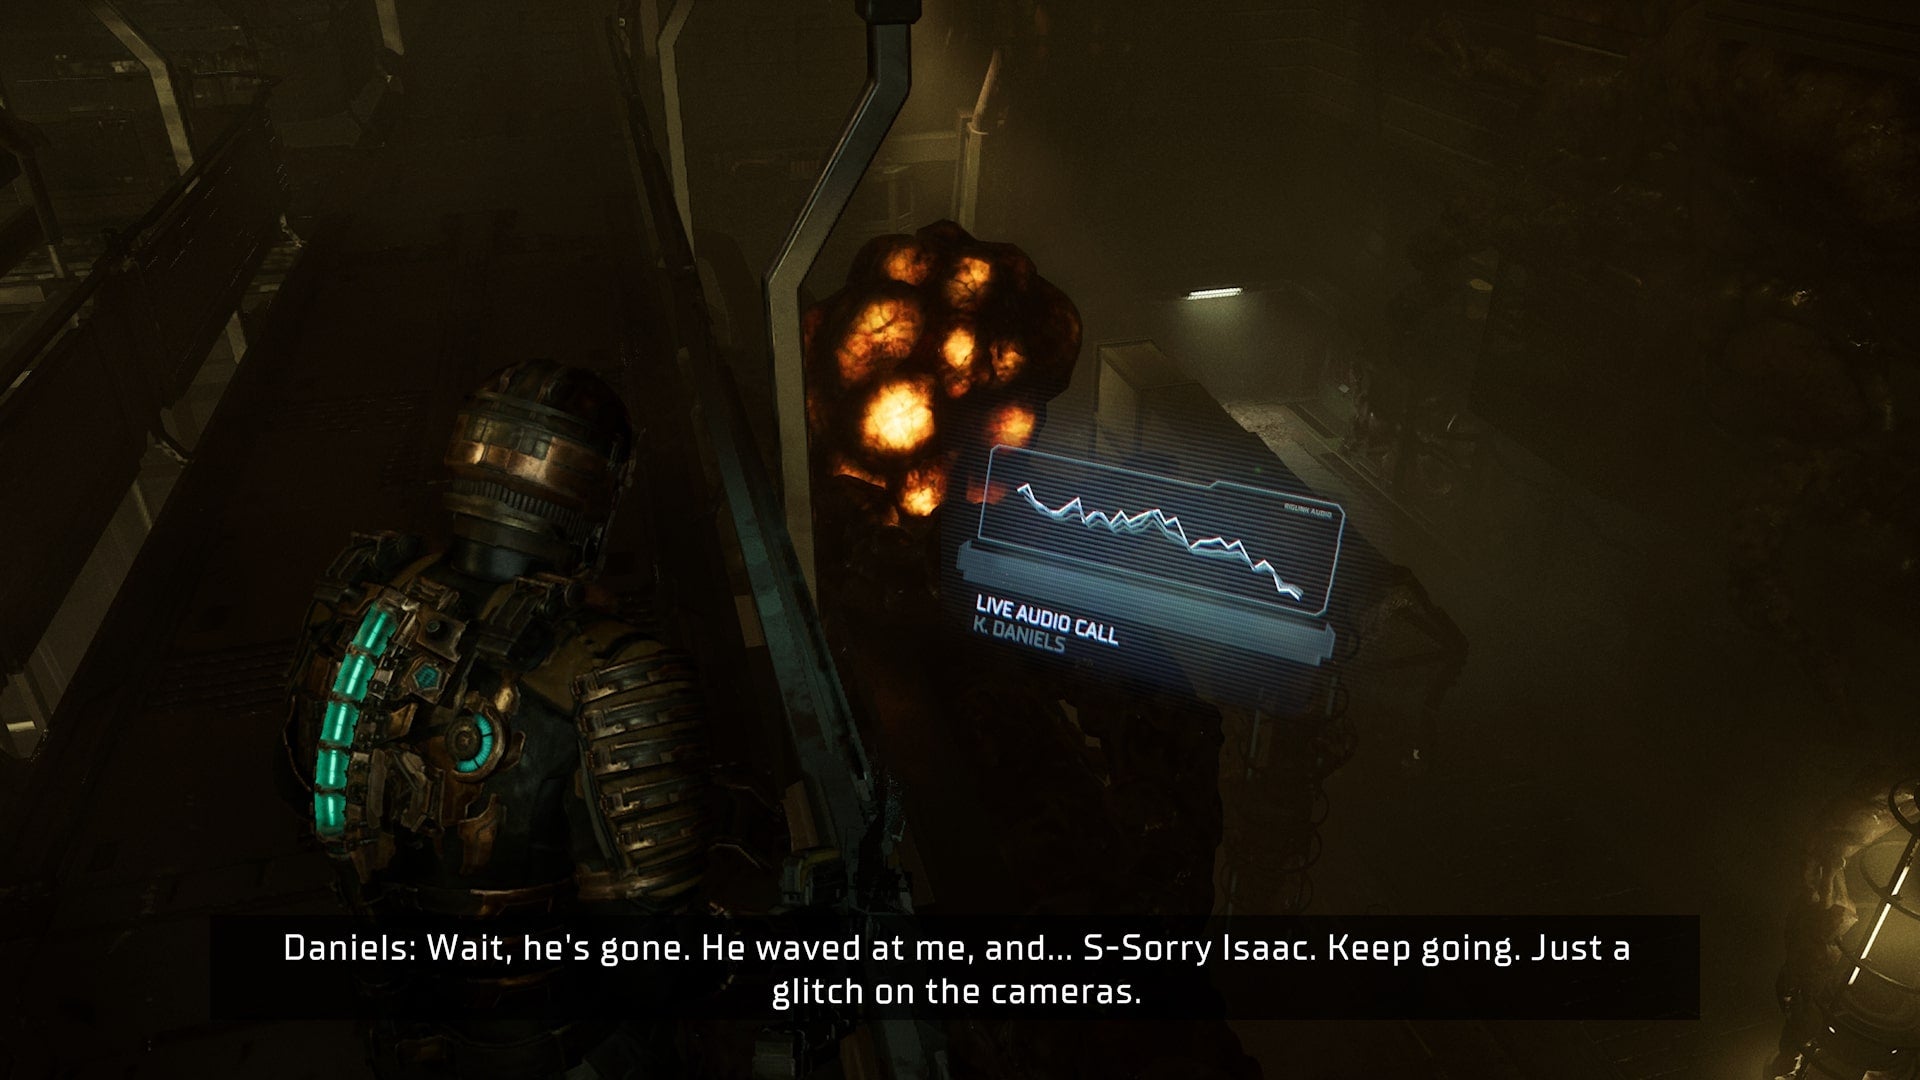
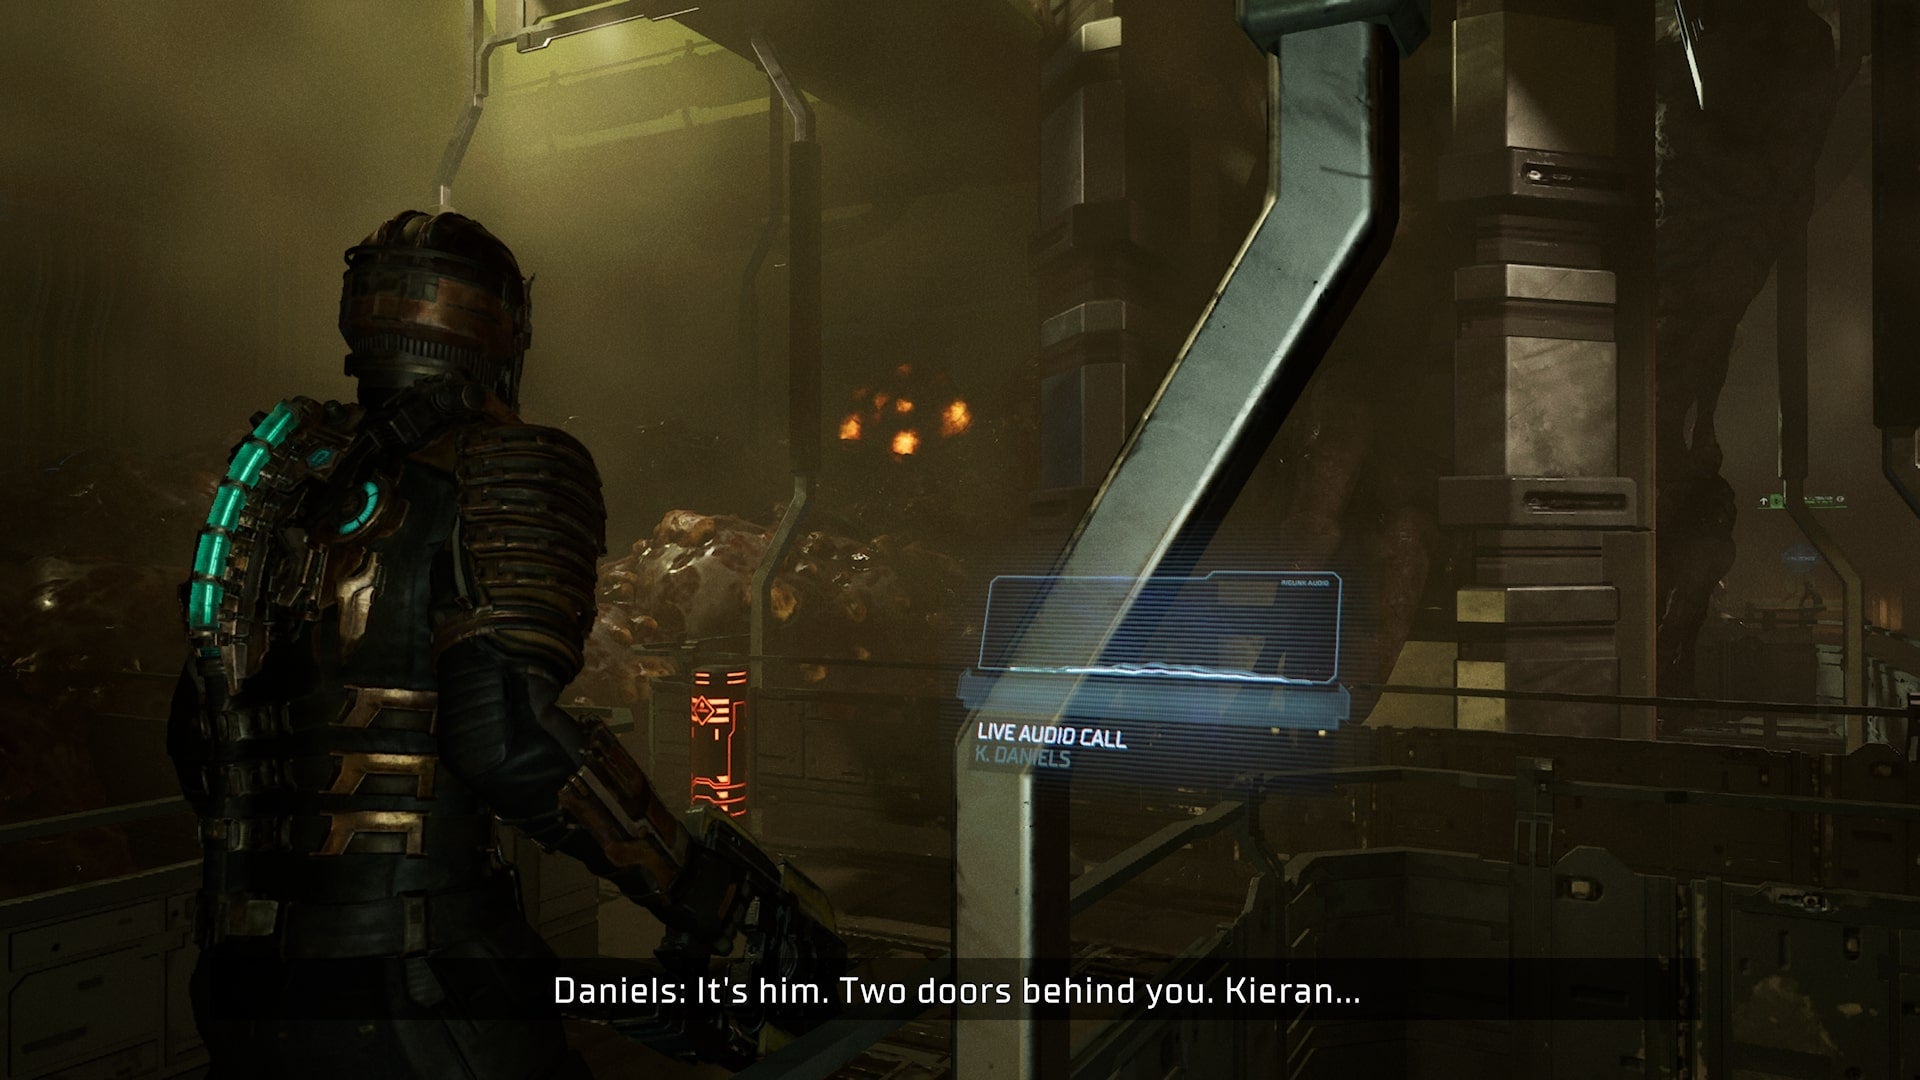
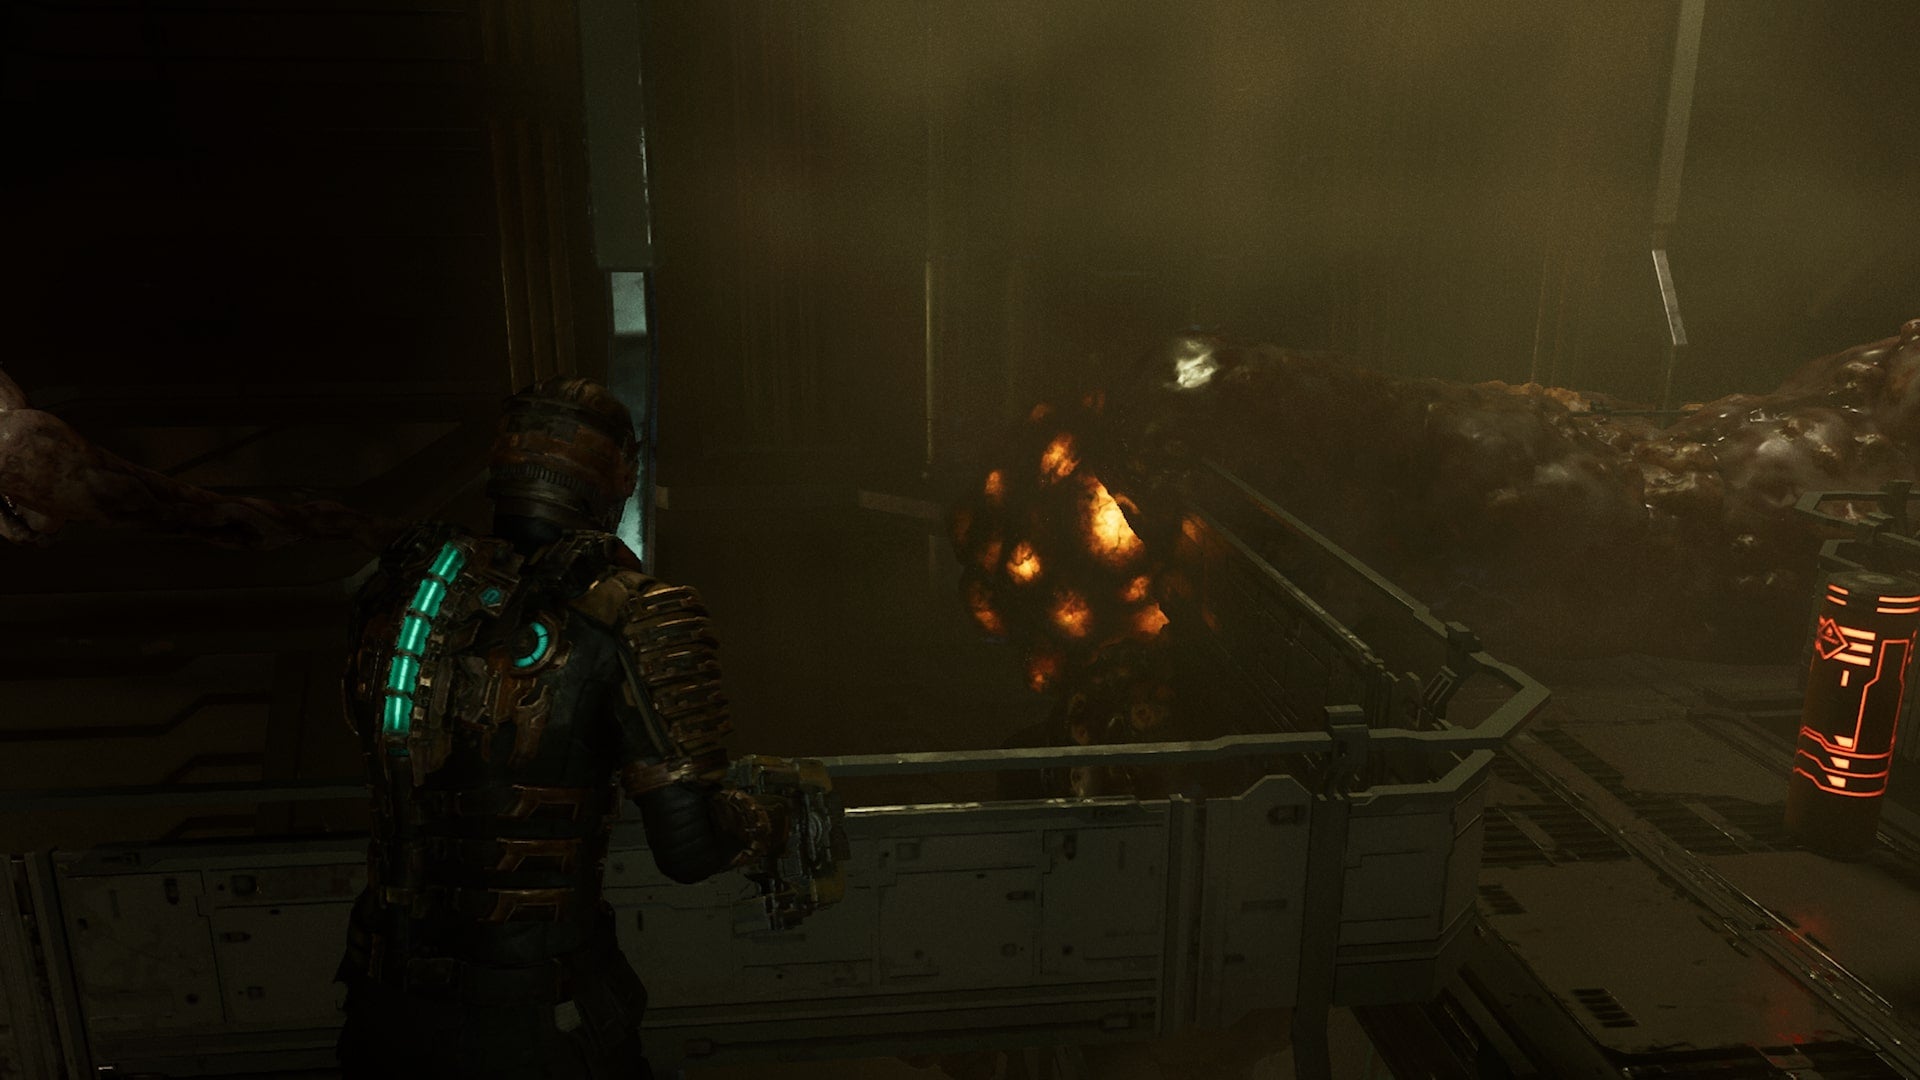
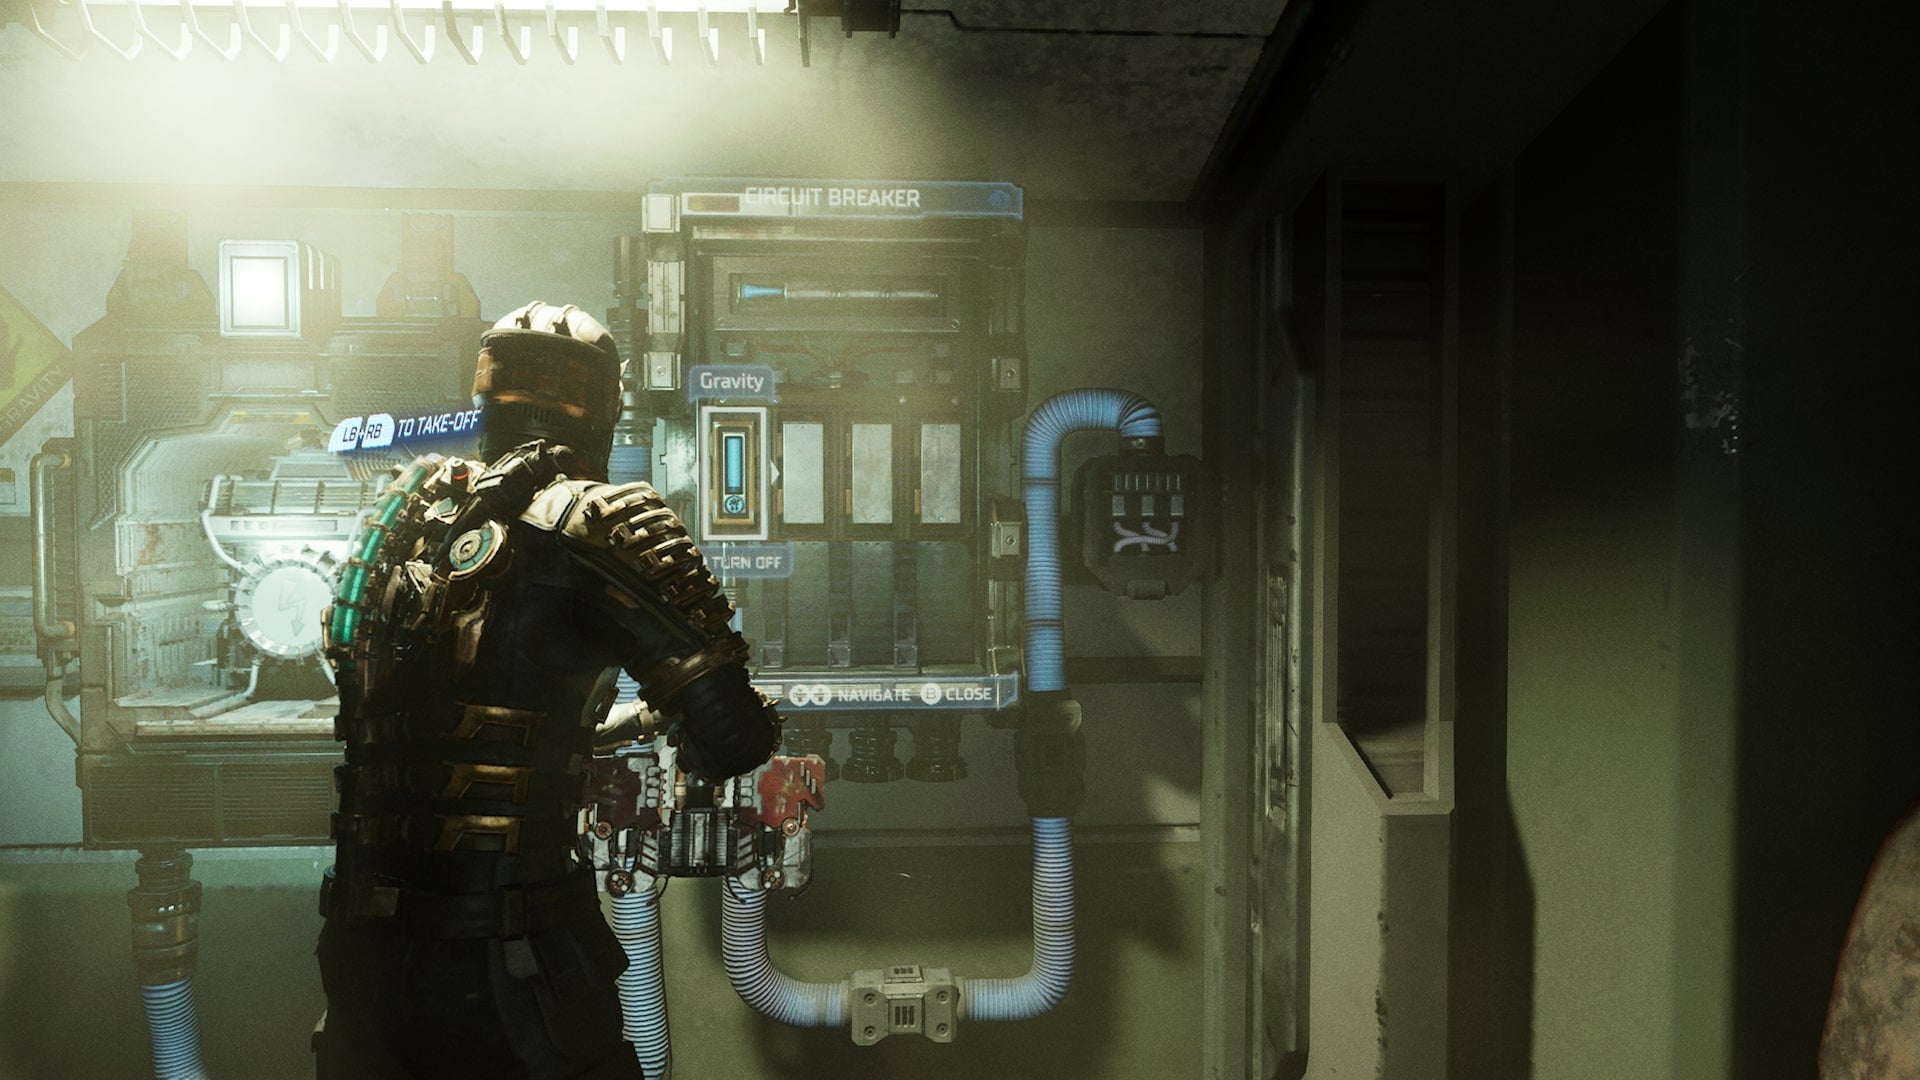
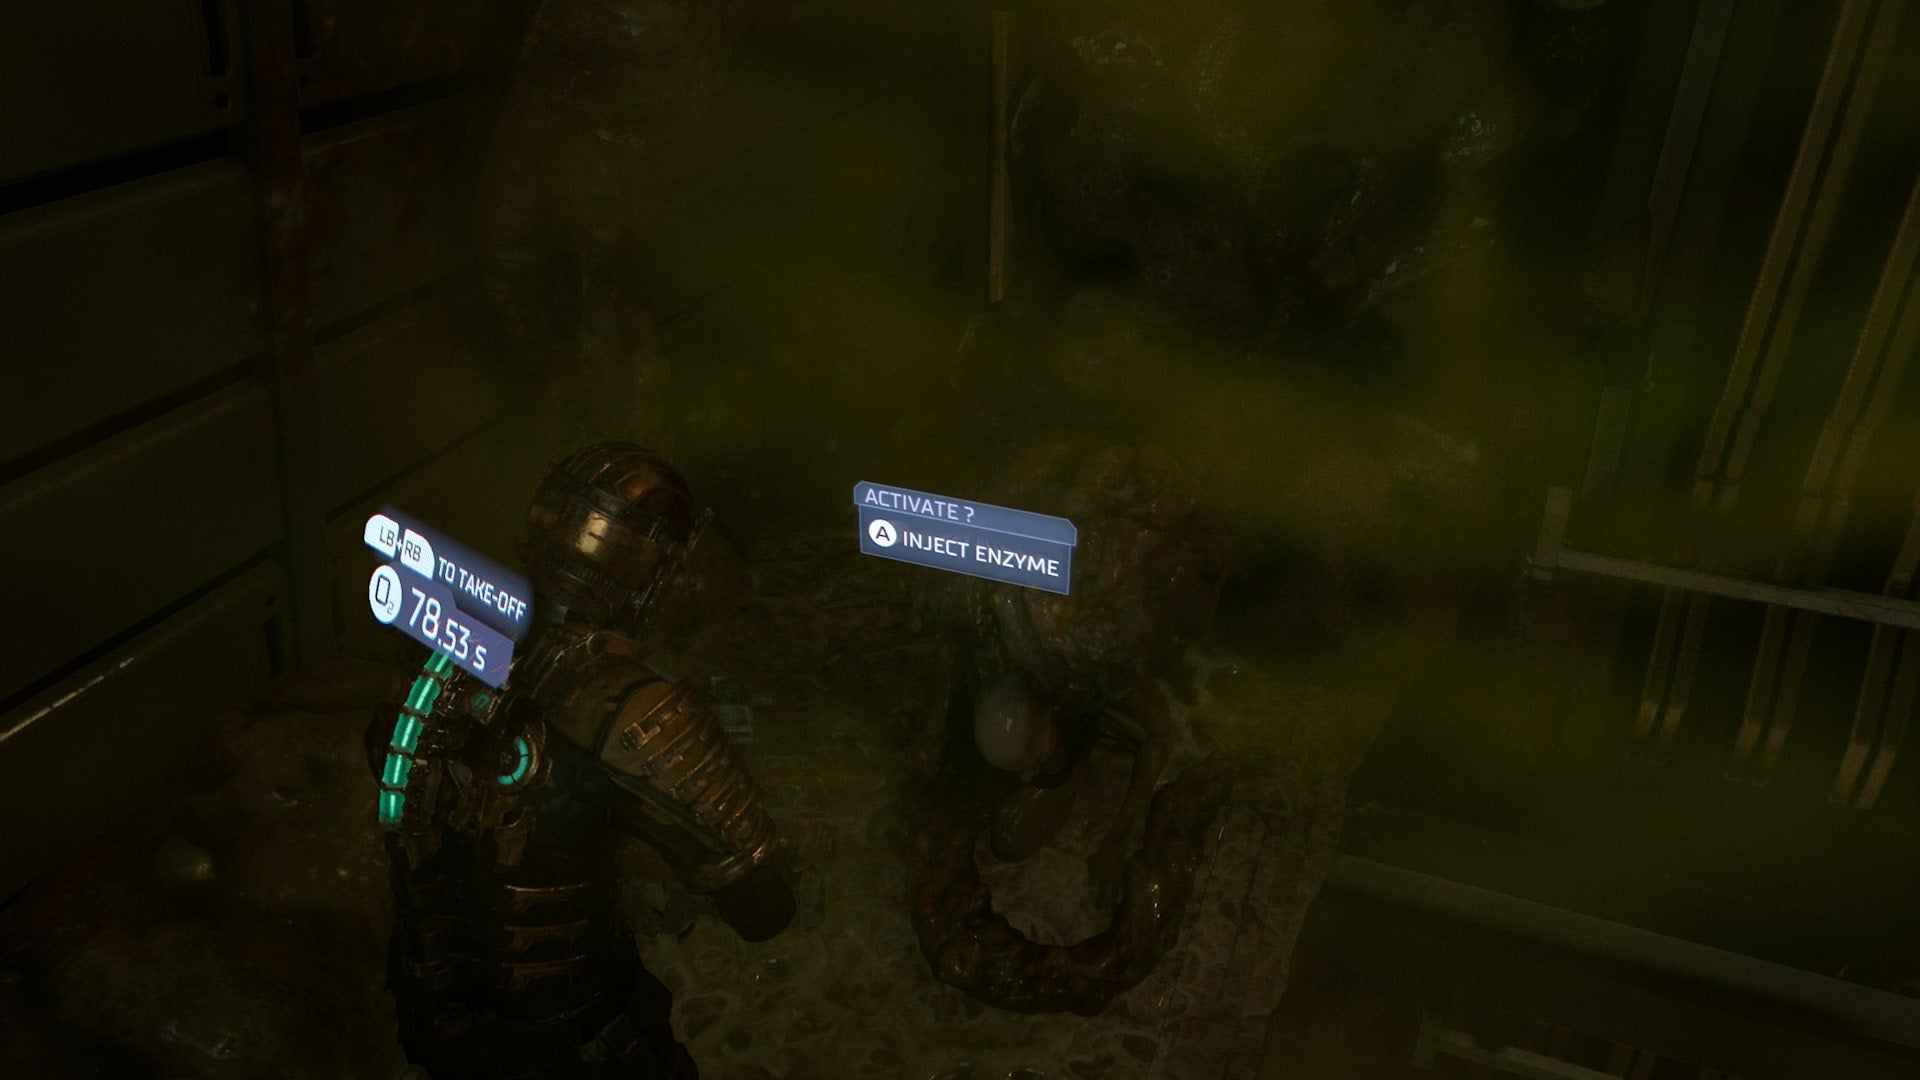
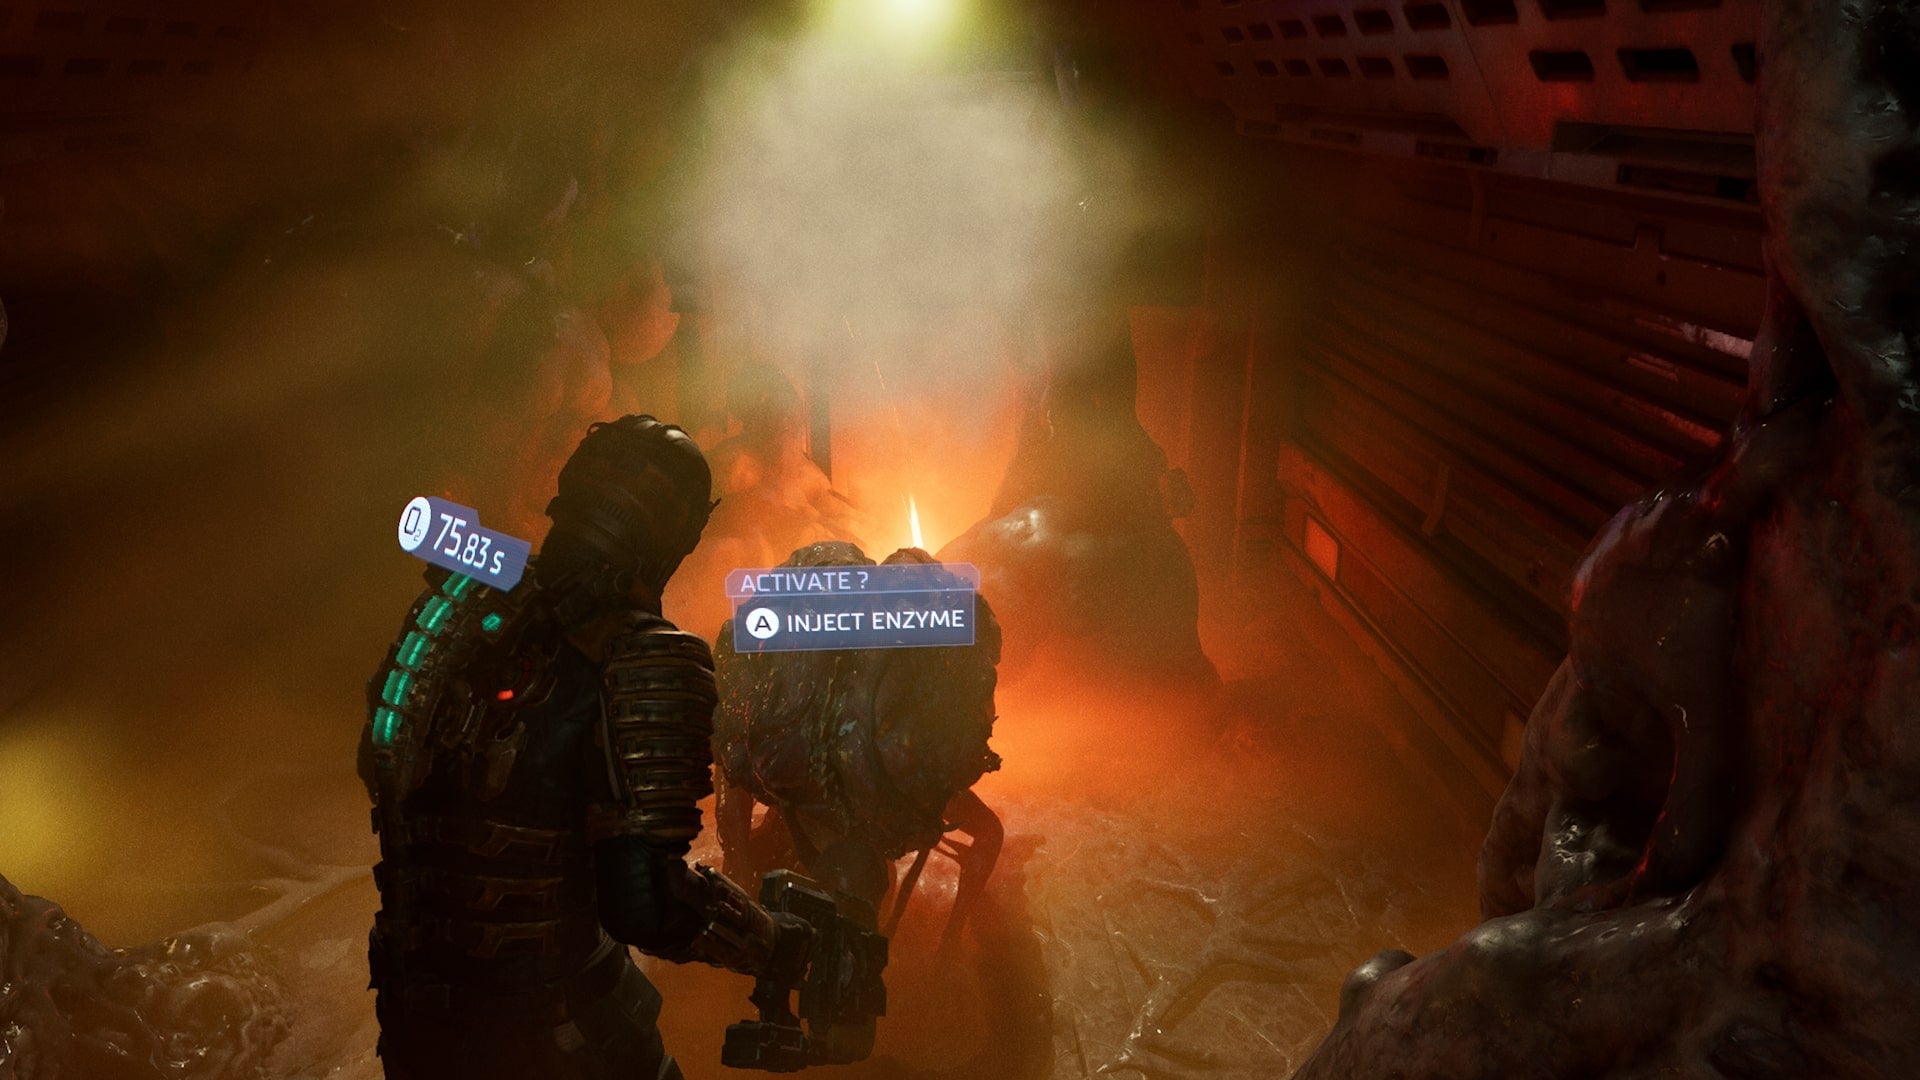
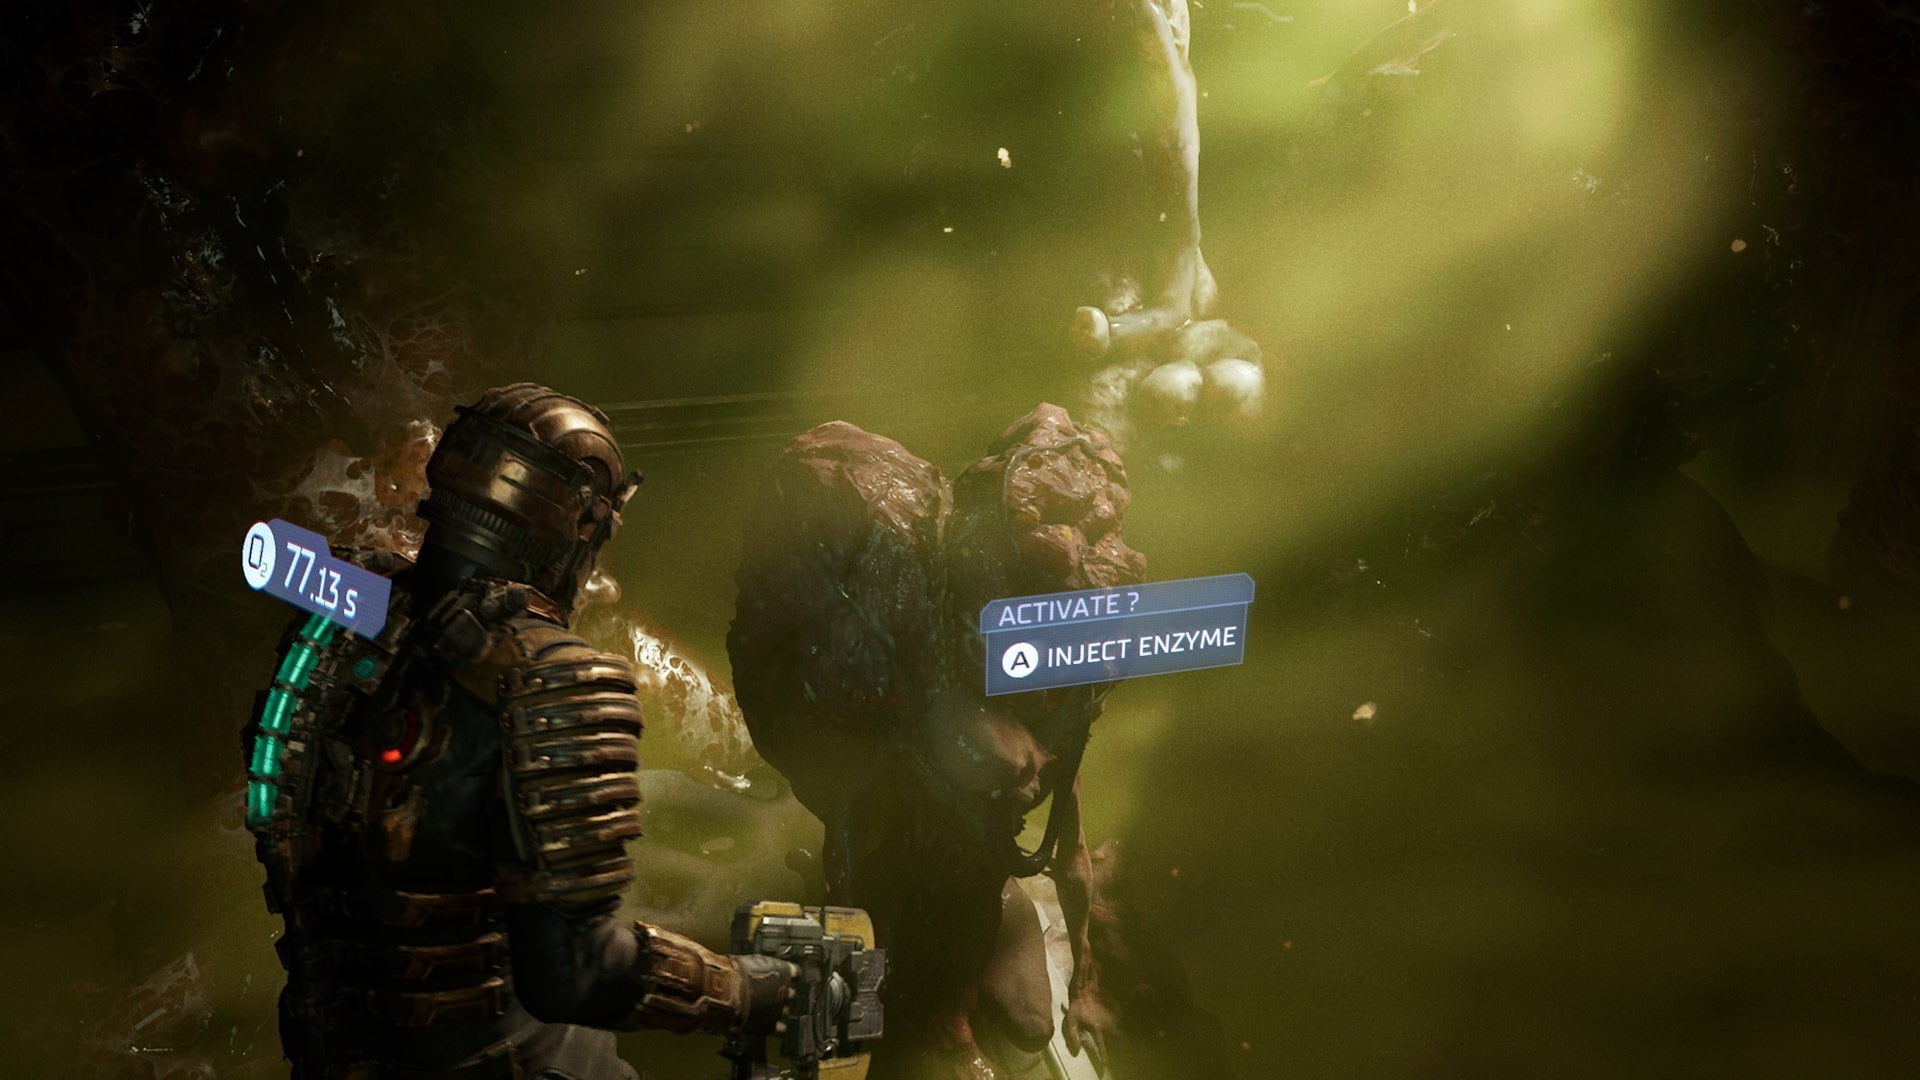
From the Tram Station, where we ended Chapter 5 of Dead Space, travel to Hangar-Cargo-Tram Control. We’re going to have to take the long way around to access Hydroponics. Leave the tram and follow your locator around until you eventually reach the Hydroponics Tram Station. Then, follow your locator up the lift and go into the Sapling Room, and then enter the Hydroponics Central Hub. You can save, and then initiate enzyme synthesis at the control panel here. Wait, and then retrieve the enzyme. Go through the door behind the control panel here, and as you approach the end of the hall, you’ll receive a call from Elizabeth Cross. Return back the way you came and go through the West Tower door, then the Flow Control door. There will be pipes spitting out acid of sorts here; wait for them to stop before advancing forward. Follow your guide past the pipes, and activate the lift at the end. Enter the West Crow Chamber, and then enter the West Seedling Room B. In here, inject the Wheezer. Exit the room where you entered, and go up the lift in the middle of this room (to your left). You will need to go to floor three, and may have to clear some enemies first. We’re going to have to run around this area a lot to inject various Wheezers, so we’ll be relying on the locator a lot. Head into Dr. Cross’ office and inject the Wheezer here. Leave the room, and use the lift again. Go to floor two this time. Follow your guide into the Refigeration Tower, and go west. Again, follow your guide around, taking care of the enemies that spawn here; be sure to target their weak spots on their arms. Once you’re in zero gravity, take off and head on over to the platform with the kinesis symbol on it. Use kinesis to move it, and then fly through it. There’ll be another platform here and some enemies; take care of them and use kinesis to move the platform, and then fly through again. Then, fly into the area up ahead full of yellow mist and anticipate more enemies. Inject the third Wheezer here, and then fly back and return to the Refigerator Core. Prepare for more of the enemies with bulbous arms on the way, and be mindful they don’t kill you. When you enter the West Grow Chamber, we need to access the room directly across from us. Use the circuit breaker by the door to turn the first set of doors on, and turn off the second set of doors. Then, enter Hydroponics Control. In the next room, inject the fourth Wheezer, and destroy the bulbous mass next to it. Take care of the enemies in this room, being particularly quick to attack the flying enemy infecting corpses. Then, go through the newly uncleared door to the East Grow Chamber. The next room will be covered in corrosive spread, and this will block your path. Shoot the four orange, glowing bulbs that you can see around the room to clear the area. The four bulbs are shown below: On the walkway here, before going down the elevator, you’ll be able to retrieve Holt’s Rig. After this, use your locator and go down the elevator. Before entering the next room, you’ll be placed under a lockdown again, and a Brute will spawn. Like the last one, you’ll want to use Stasis to slow it and then get behind it and fire at its back. In one corner of the room, there is an energy cell, and on the other side of the room is its socket; pick it up using Kinesis and put it where it belongs. You won’t be able to use the circuit breaker here yet, so follow your guide into East Seedling Room A and inject the fifth Wheezer here. Go back into the main room and find East Seedling Room B. In here you’ll be able to collect the Deck Systems Keycard, can use the Bench if needed, and can recharge your Stasis ability. Now, return to the circuit breaker and use the Keycard to turn gravity on. You’ll now be able to take off, and can use your guide to go up the elevator and enter the Air Filtration Hall. You can save here, and use the store before continuing. Exit the Air Filtration Hall and go back into the East Grow Chamber. Using your locator to guide you, fly up to your right, where you’ll see another Wheezer; inject it. Return to the Air Filtration Hall, and follow your guide from here. In the next hall, you’ll get grabbed again; shoot the bulbous mass of the Drag Tentacle before it ends you, and then follow your guide again into the zero gravity area. Take care of the hostiles here and use your locator to track where you need to go next. You’ll find some live electricals are blocking your way, so use Stasis on these to get by. You’ll have to stop two sets of live electrics before finally reaching a platform where you can land. Turn off the Turbine here, and then advance through the next door to the Filtration Tube Annex. Head down the elevator in here, and break the electricals to unlock the door to Filtration Tube 1. Then, while it is not currently a tube of fire, head into the tube and do the same to the next door. Do this to the following three doors, avoiding both fire and enemies, then head up the elevator. Head into Annex Storage, and inject the next Wheezer. Then, follow your locator back to the East Grow Chamber. Follow your locator to the East Seedling Room B, where you’ll now be able to access the room from the other side, and inject another Wheezer. That’s all the Wheezers taken care of, so it’s only the Leviathan now left to take care of. Follow your locator over to Food Storage, going back through the zero gravity area of electricals from earlier. Once you’re in the West Food Chamber, use the elevator in the middle of the room to go down to floor one. Follow your locator into Flow Control, and past the corrosive-spitting pipes into the Hydroponics Hub, and finally into Food Storage. In the next room, initiate airlock release via the control panel. It’s now time to kill the Leviathan.
How to beat the Leviathan in Dead Space
The strategy with the Leviathan is to avoid its tentacles as they lunge out to grab you. Before the tentacle retreats, you’ll notice a glowing, orange weak spot at its base. Shoot this before the tentacle retreats, and keep doing it to each tentacle to weaken it. Having taken on all three tentacles, the middle of the Leviathan will take centre stage. Now, you’ll need to fire at the very centre of it, while also avoiding the corrosive projectiles it’ll now throw at you. It’ll also begin to excrete poisonous gas after a while, putting a time restraint on the battle; when this happens, there isn’t much longer to go, just keep firing at the middle. With the Leviathan beat and having spoken to Dr. Cross again, that’s Chapter 6 done with. Time to move onto Chapter 7: Into the Void.
Dead Space Chapter 7: Into the Void Dead Space Chapter 8: Search and Rescue Dead Space Chapter 9: Dead on Arrival Dead Space Chapter 10: End of Days Dead Space Chapter 11: Alternate Solutions Dead Space Chapter 12: Dead Space
For more on Dead Space, take a look at our review of the game, as well as some tips and tricks to help you across the USG Ishimura.

